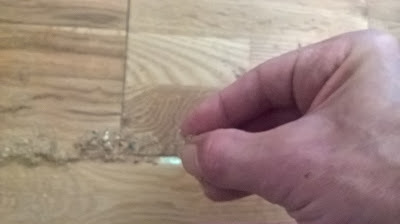
What You Need; Glue & Sawdust
Sawdust preferably from a board that's from the same flooring. This will blend better.
1st Step
Clean any dust or debris from the gaps your going to work on.
2nd
Apply the glue - not too deep, you need to allow room for the sawdust. And not too shallow otherwise it will create a 'gully', - won't be level to the rest of the flooring.
My brief tutorial on YouTube - In this video, you will see what happens when not enough glue is used to fill in the gap. The final result was too shallow. I should have either left the glue to settle longer, or add more glue.
3rd
Sprinkle the sawdust onto the glue, and tap very gently - as seen in video.
4th
Allow to dry. Depending how wide and deep the gap is, will depend on how long to wait for the glue to dry. Wider, and deeper gaps will take longer to fully dry.
After six months
This is what it looks like. This area was done six months ago. Its smooth, level and looks good. I'd recommend doing a test area first - for practice getting the right depth.
This is what it looks like. This area was done six months ago. Its smooth, level and looks good. I'd recommend doing a test area first - for practice getting the right depth.
- To repair very 'thin' gaps, that are not very deep, use a nail, or tool to make the gap deeper. this will allow room for the glue 'and' sawdust to fit - (only if needed)
- To repair old style floorboards with deep gaps between them can be fixed using the same technique. Except, fill the deep gaps in with damp paper or tissues. This will stop the glue from falling straight through the gaps, and minimises the amount of sawdust and glue needed to repair. If you're going to 'paint' the floorboards, then use a 'silicone' based product, or poly filler on top of the wet tissues.
How To Make A Wall Bracket For Your TV
How To Watch Free-View TV "Without" The Need Of An Internal Or External Aerial, Or Dish
About TOWP - theonlywayproductions.blogspot.co.uk - tinyurl.com/towpblog - 27.10.17.


No comments:
Post a Comment